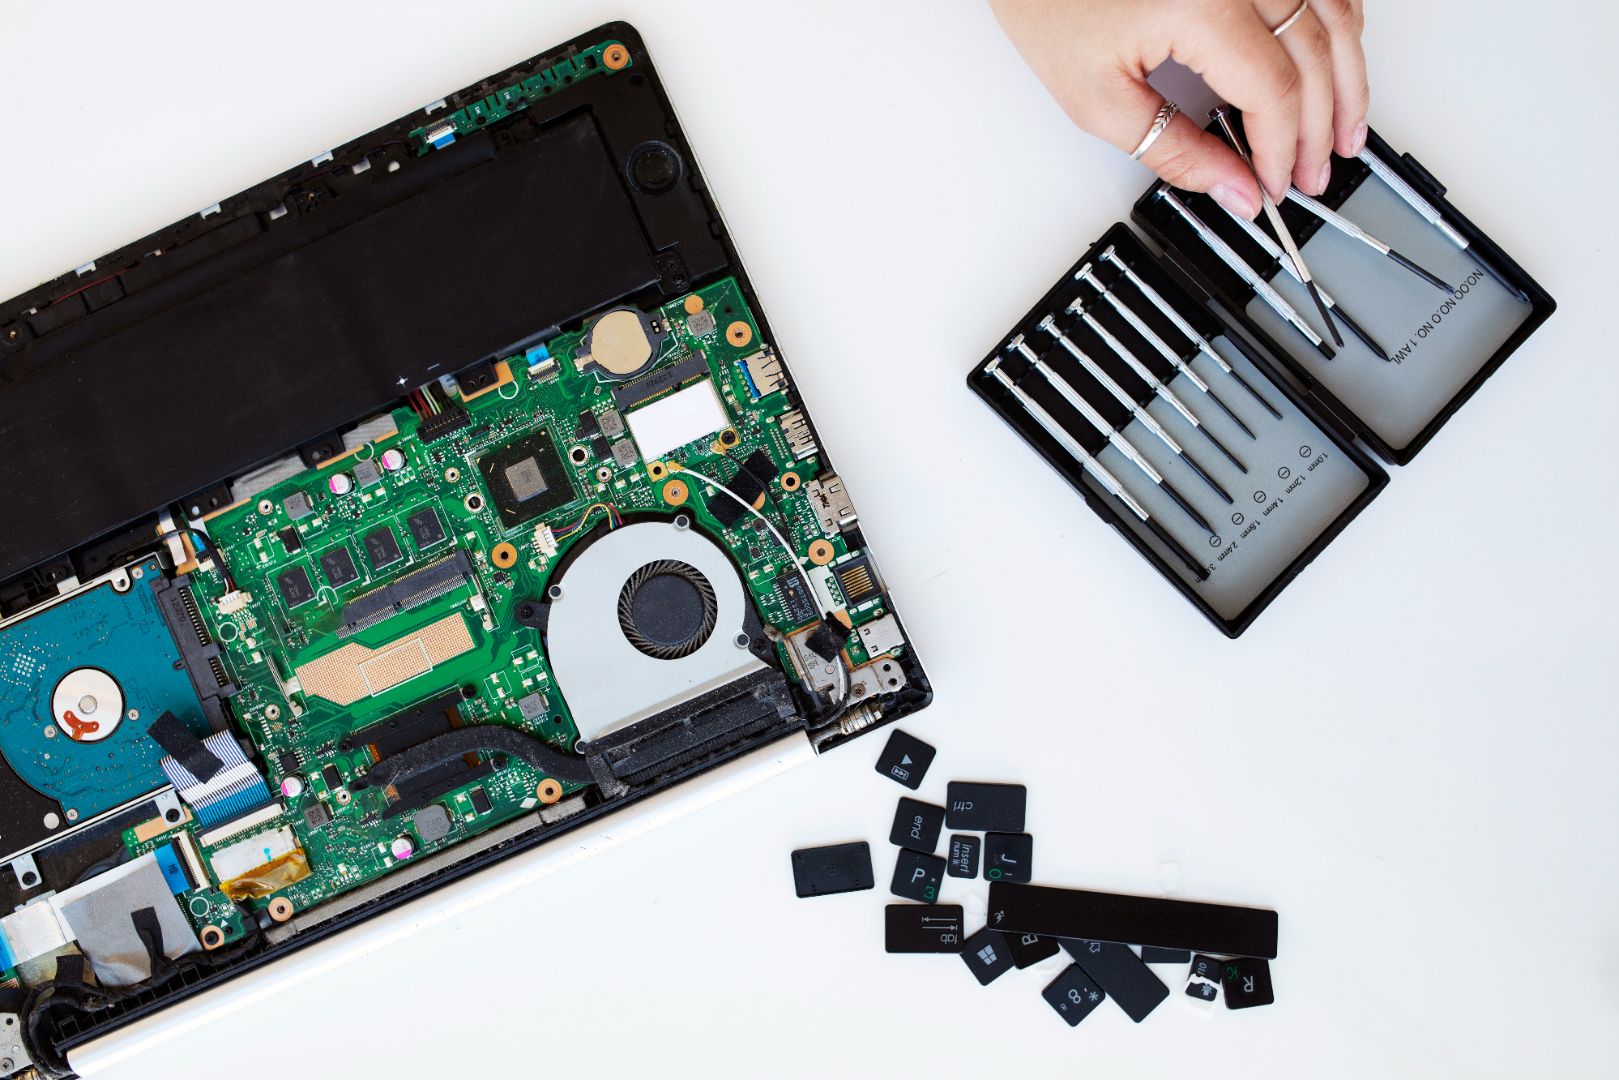
Your laptop's keyboard is one of its most essential components, allowing you to type emails, write documents, and navigate the digital world with ease. However, over time, keyboards can become worn out, damaged, or unresponsive, leading to frustrating typing experiences. If you find yourself in need of a keyboard replacement, fear not! With the right tools and knowledge, replacing a laptop keyboard can be a straightforward process. In this comprehensive guide, we'll provide you with expert tips and step-by-step instructions to ensure a smooth and successful keyboard installation. Whether you're a seasoned DIY enthusiast or a first-time replacer, these tips will help you breathe new life into your laptop and get back to typing with confidence.
1. Gather the Necessary Tools
Before you begin, make sure you have all the necessary tools on hand. You'll typically need a small Phillips screwdriver, a flathead screwdriver or spudger tool, and a pair of tweezers. Additionally, it's helpful to have a clean, flat workspace and a container to keep track of screws and other small parts.
2. Power Off Your Laptop and Remove the Battery
Before you start working on your laptop, it's crucial to power it off completely and remove the battery to prevent any accidental damage or electric shock. Make sure your laptop is unplugged from any power sources before proceeding.
3. Remove the Old Keyboard
To remove the old keyboard, start by locating the screws securing it to the laptop's chassis. These screws are typically located on the bottom of the laptop, but some models may have additional screws hidden under keyboard bezels or rubber feet. Carefully remove the screws using your Phillips screwdriver and set them aside.
Next, use a flathead screwdriver or spudger tool to gently pry up the keyboard bezel or trim piece surrounding the keyboard. Be careful not to force it, as you may damage the plastic clips securing it in place. Once the bezel is removed, you should see screws holding the keyboard in place. Remove these screws and carefully lift the keyboard away from the laptop.
4. Disconnect the Keyboard Cable
With the keyboard removed, you'll need to disconnect the keyboard cable from the laptop's motherboard. The keyboard cable is typically secured by a small latch or connector. Use your fingers or a pair of tweezers to gently release the latch and disconnect the cable from the connector.
5. Install the New Keyboard
Once the old keyboard is removed, it's time to install the new one. Start by connecting the keyboard cable to the motherboard connector and securing it in place. Then, carefully align the new keyboard with the laptop's chassis and replace the screws to hold it in place. Finally, reattach the keyboard bezel or trim piece, making sure it snaps securely into place.
6. Test the Keyboard
Before reassembling your laptop, it's important to test the new keyboard to ensure it's functioning properly. Reinsert the battery, power on your laptop, and test each key to verify that they are responsive and working correctly. If everything checks out, you can proceed to reassemble your laptop.
7. Reassemble Your Laptop
Once you've verified that the new keyboard is working properly, it's time to reassemble your laptop. Replace any screws or trim pieces that were removed during the disassembly process and make sure everything is securely fastened. Finally, power on your laptop and enjoy your newly installed keyboard!
Replacing a laptop keyboard may seem daunting at first, but with the right tools and guidance, it's a manageable task that can breathe new life into your device. By following these expert tips and step-by-step instructions, you can ensure a smooth and successful keyboard installation, allowing you to get back to typing with confidence. Explore our store for a wide selection of high-quality laptop replacement parts, including keyboards, screens, adapters, USB-C adapters, and more, and take the first step towards revitalizing your laptop today.


Leave a comment
This site is protected by hCaptcha and the hCaptcha Privacy Policy and Terms of Service apply.